Edit Your KW Agent Website Homepage in Command
Overview
TAThe AMS TeamEditorial Team · January 9, 2025
Overview
Your KW Agent Site homepage is a critical touchpoint for potential clients. With Command, you can easily customize your homepage to reflect your branding and highlight key information. Follow the steps below to learn how to edit your homepage.
Watch this video on How to Update Your KW Command Agent Website: Add a Tagline & Update Images
Watch the Video On How To Update Your KW Command Website
Learn step-by-step how to edit your KW Agent Site homepage in Command:
Steps to Edit Your Homepage
How to Edit Your KW Agent Site Homepage in Command
Follow these steps to update your KW Command agent website homepage by adding a tagline, updating images, and customizing content.
1. Log in to Command
- Navigate to https://agent.kw.com.
- Enter your KW login credentials.
2. Access the Website Editor
- Click on the Consumer icon in the left-hand menu.
- Select the Site & App Settings tab at the top of the page.
- On the Site Pages tab, locate your homepage in the list of pages.
- Click the Edit button next to the homepage you wish to modify.
3. Customize the Banner (Hero Image Section)
- Headline/Title: Enter a headline to display above the search bar. If left blank, it defaults to *“Let’s find your dream home.”*
- Banner Image Options:
- Carousel of Images (up to 5) or a Video that auto-plays without sound.
- *Image Requirements*: Minimum width of 1920px, smaller than 20MB, and an 8:3 aspect ratio.
- *Video Options*: Use a YouTube or Vimeo link, or upload a video file (up to 500MB, in .mp4 or .webm format).
4. Configure Content Below the Headline
- Search Bar (Default): Displays a property search bar with an optional “Hide Rent” toggle.
- Custom Button: Replace the search bar with a button linking to a specific page (enter button label and URL).
- None: Removes both the search bar and button, leaving only the headline and banner.
5. Edit Homepage Content
- Update the page title, header, or welcome text to reflect your brand voice.
- Add or rearrange sections such as featured listings or testimonials.
- Upload new images to personalize your page further.
6. Manage Featured Properties
- Decide whether to display this section.
- Set criteria for featured listings by specifying:
- A center point (address, zip code, etc.).
- An auto-populate radius and a listing price range.
7. Display Testimonials
- Choose to show or hide this section.
- Edit the headline and description text (this section will only appear if you have published testimonials).
8. Include a Blog List
- Choose whether to display or hide this section.
- Customize the headline and description as needed.
9. Save and Publish Changes
- Review your changes to ensure everything is accurate.
- Click Save and Publish to make the updates live on your site.
Best Practices
- Use High-Quality Images: Images are the first thing visitors notice. Choose visuals that represent your brand and market.
- Keep Text Concise: Your homepage should provide essential information while encouraging visitors to explore further.
- Test Mobile Responsiveness: Ensure your updates look great on both desktop and mobile devices.
FAQs
Q: Can I revert changes after saving?
Yes, you can edit your homepage again by repeating the steps above. However, there is no undo feature, so make sure to save a backup of your content before major updates.
Q: How do I preview my changes?
Before publishing, click the Preview button to see how your homepage will look to visitors.
Q: How to update my KW Command Agent website?
By following these steps, you can create a homepage that aligns with your personal brand and captures client attention effectively.
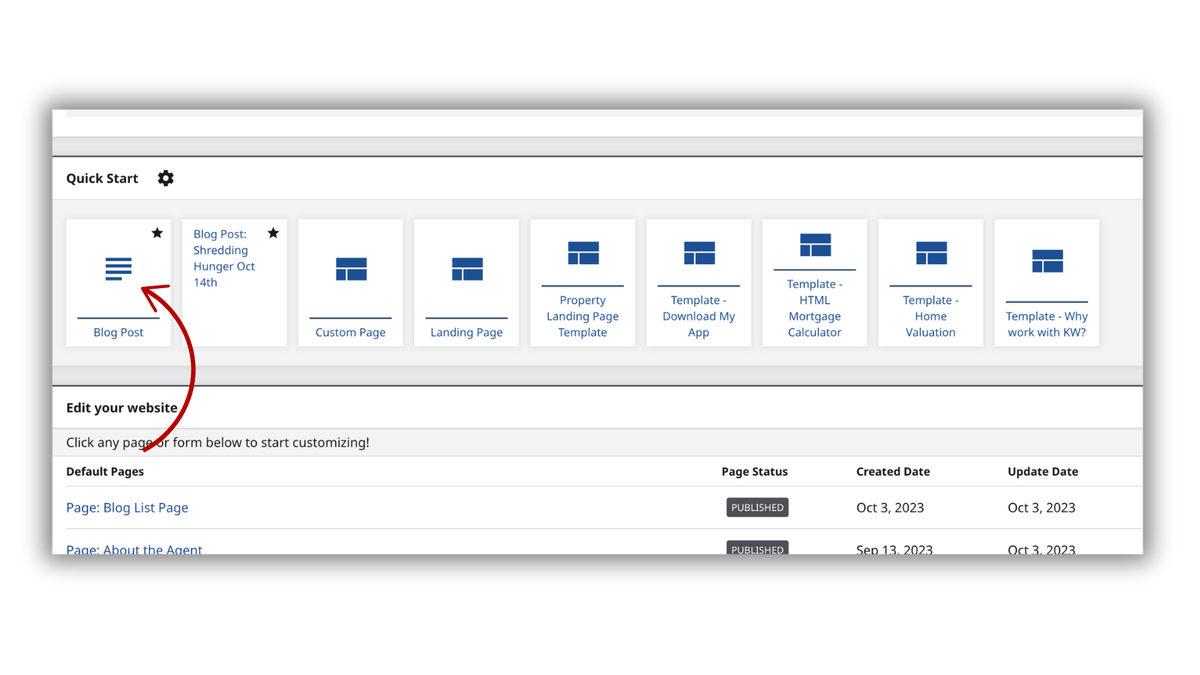
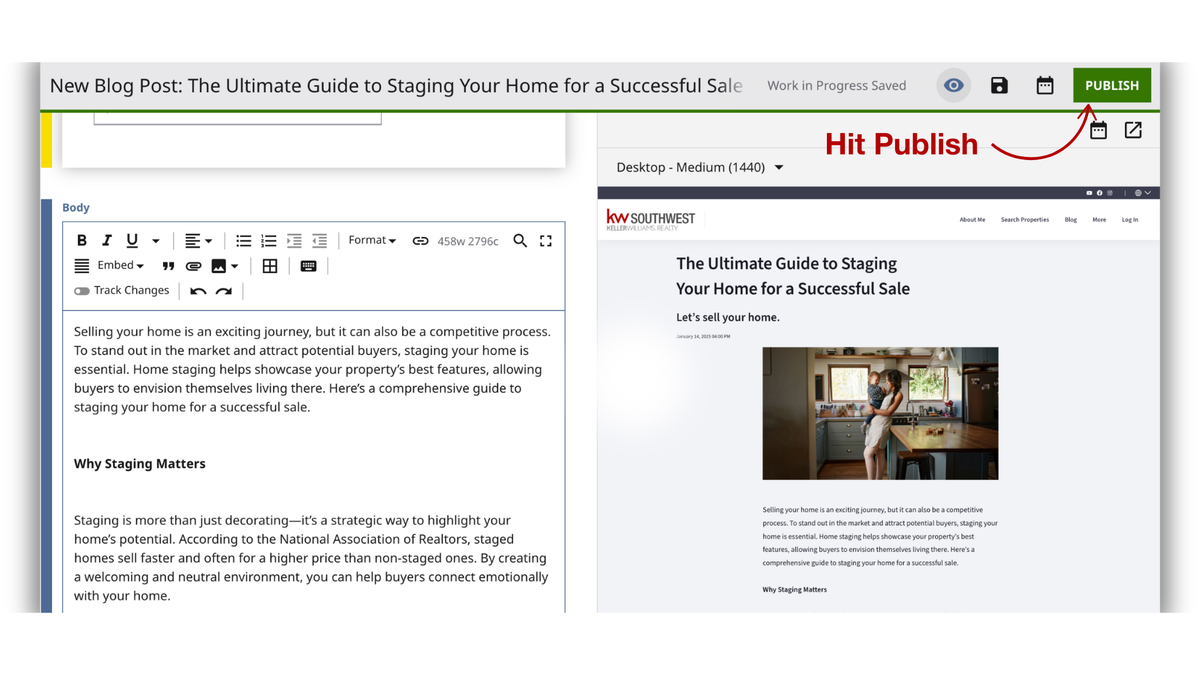
Add A Blog Post of Your KW Command Agent Site
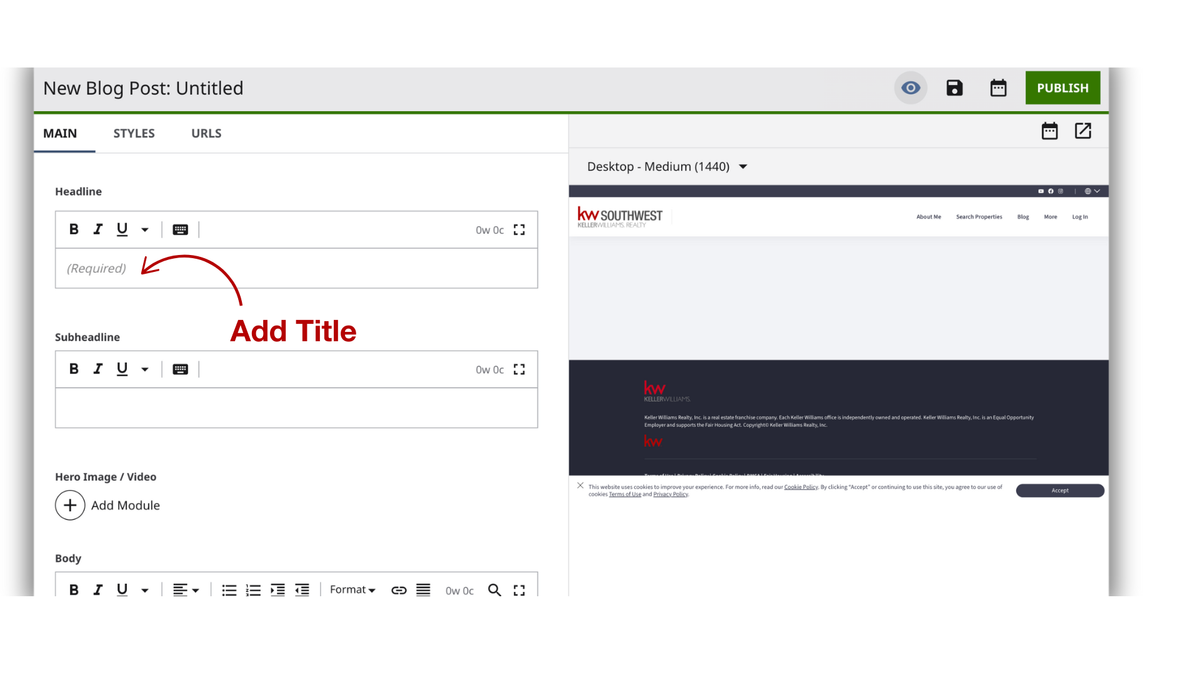
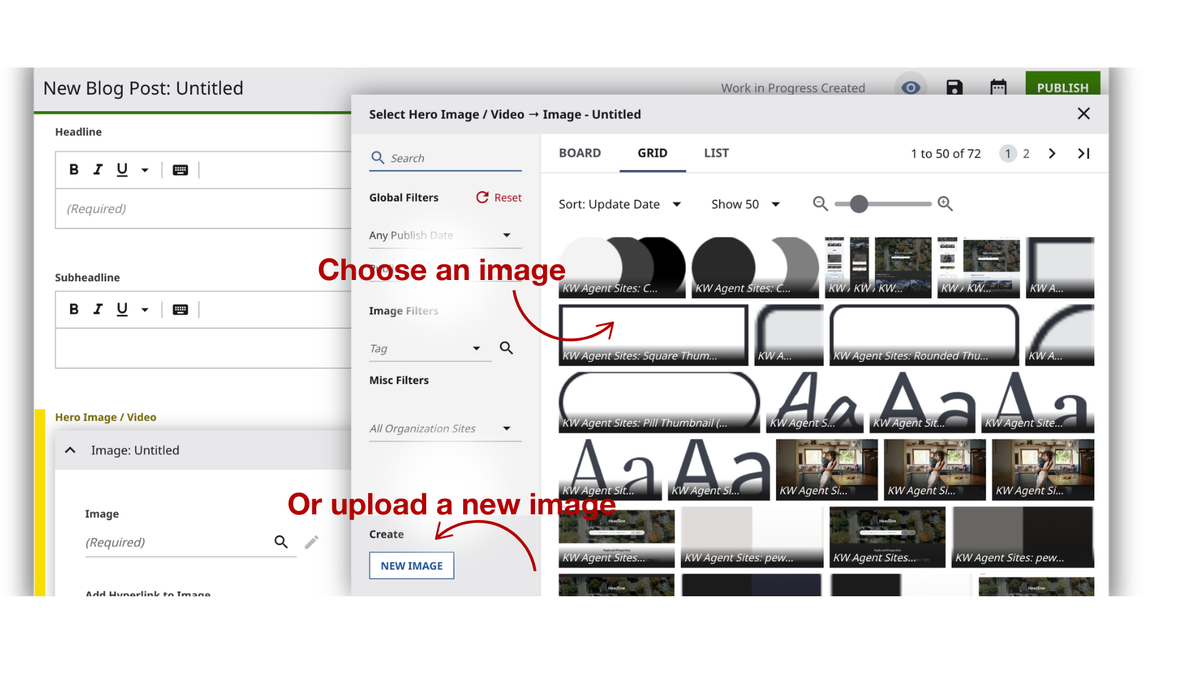
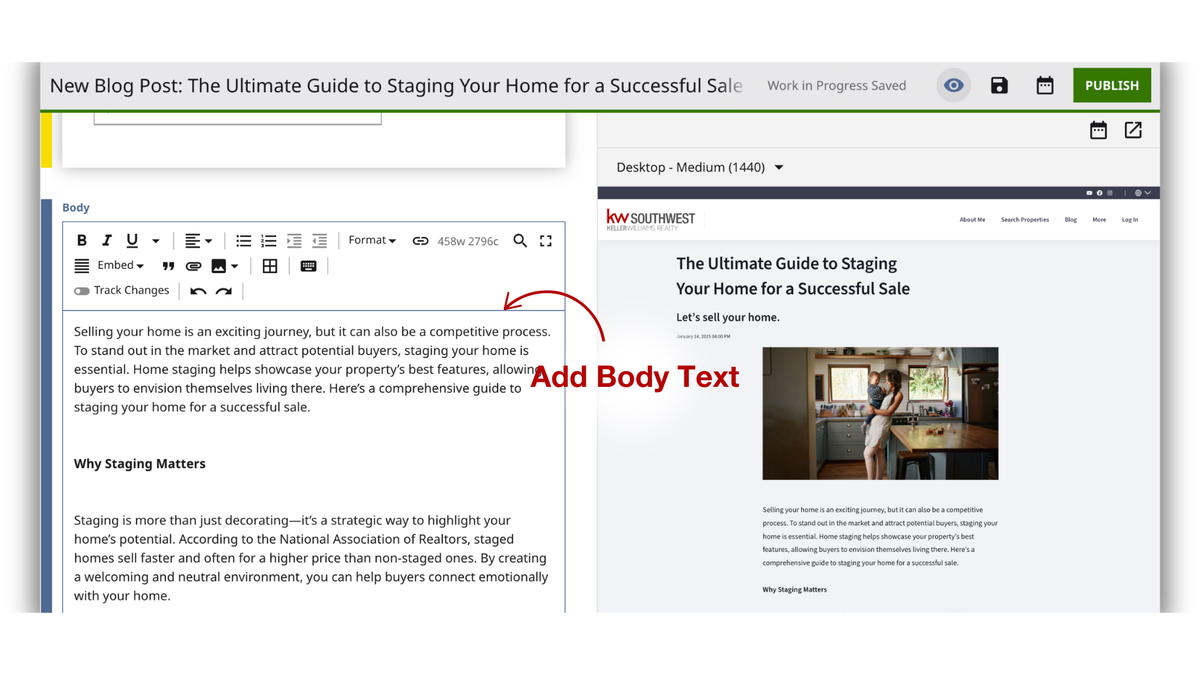
Add Content to Your Blog Post
- In the editor, add:
- Title: Catchy and relevant to your audience.
- Images or Videos: Use the “Image” widget or embed videos for a richer experience.
- Body Content: Provide valuable information, using headers, bullet points, and images where necessary.
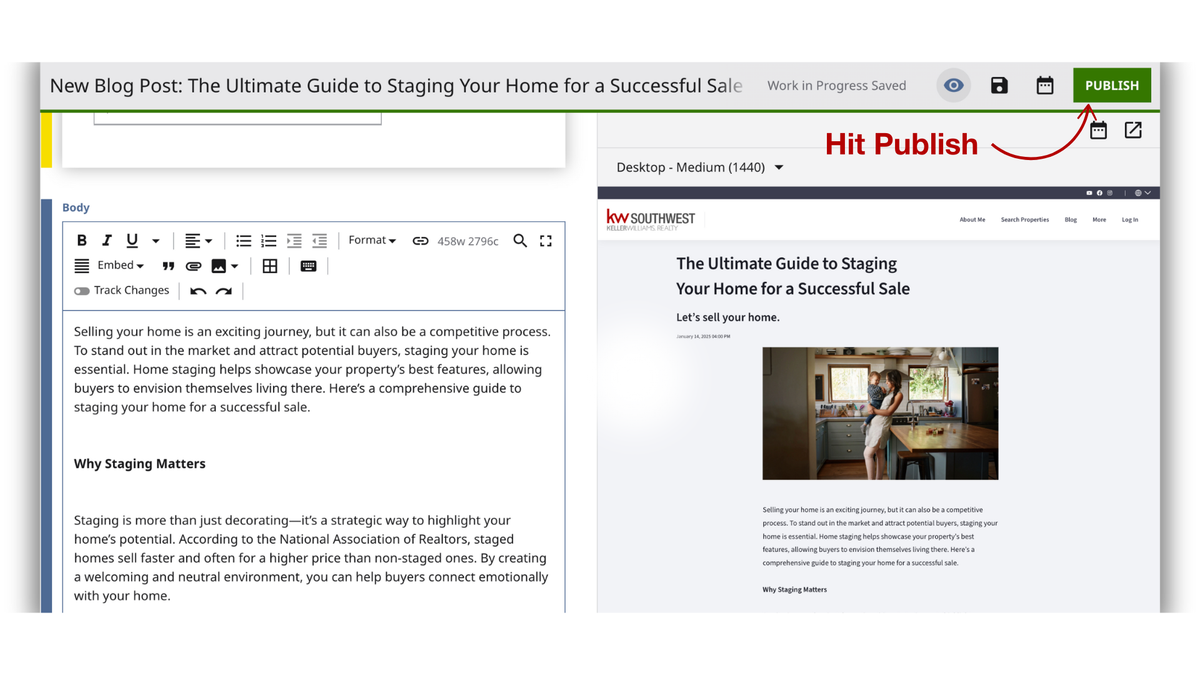
Publish Your Blog Post
- Once satisfied, click “Save” and then “Publish Page”.
- Confirm the blog post is visible on your agent site by visiting the site and navigating to your blog.
To update your headshot, logo, brokerage information, contact information, biography, and other website information go to your
Update your Marketing profile here
Frequently asked questions
Where do I edit my KW Agent Site homepage?+
Log in at agent.kw.com, click the Consumer icon in the left-hand menu, select the Site & App Settings tab, find your homepage on the Site Pages tab, and click Edit.
What are the banner image requirements?+
A minimum width of 1920px, a file smaller than 20MB, and an 8:3 aspect ratio. You can use a carousel of up to 5 images.
Can I use a video instead of images?+
Yes. Use a YouTube or Vimeo link, or upload a file up to 500MB in .mp4 or .webm format. The video auto-plays without sound.
What happens if I leave the headline blank?+
It defaults to "Let's find your dream home."
Can I replace the search bar with something else?+
Yes. You can keep the default property search bar, swap it for a custom button by entering a label and URL, or select None to show only the headline and banner.
How do featured properties get selected?+
You set the criteria: a center point such as an address or zip code, an auto-populate radius, and a listing price range.
Why is my testimonials section not showing?+
That section only appears if you have published testimonials. You can also choose to hide it entirely.
Can I preview before publishing?+
Yes. Click Preview to see how the homepage will look to visitors, then click Save and Publish to push it live.
Can I undo changes after saving?+
There is no undo feature. You can edit again by repeating the steps, so keep a backup of your content before making major changes.